Tuesday 31 December 2019

Vanguard Kit To The Rescue - Again!

My grandson is currently going through a stage in which he insists on wearing short sleeved shirts and shorts - and it's winter!  He's deep into mountain biking and I've made him pants that he will actually wear - the Moto Maxx pants with knee reinforcement, made in Discovery Trekking Outfitters' scuba.  He loves the fabric and the sporty look and now has two pairs of them to keep him happy - and warm!
Moto Maxx pants in black and grey scuba
But shirts are a problem.  His favourite shirt is a short sleeved one I made him to match shirts I made for his father's team.  I used Discovery Trekking's Polartec Delta and my grandson loves it. 
That's my grandson on the left.
Now he wants plain shirts and prefers athletic material.  He agreed that he'd wear a long-sleeved Vanguard shirt if it was made with that fabric - with some jazz added!  And of course, he wasn't interested in any of the amazing colour blocking options this pattern has - he wanted spiral stripes down the arms!
I did a test sample in the fabric to see if it would work first.  Always test a new idea!  And it did work, so now to make the shirt.
I had quite a bit of the grey Polartec Delta, but not much of the apple green, so I decided on stripes for the arms and neckband, but to leave the sleeves uncuffed so I added 2" to the sleeve length.  I wanted the green just to be an accent.  Polartec Delta is an amazing fabric - it wicks moisture away from the body but keeps you cool and prevents smelly bacteria odors.  Perfect for my hot-bodied grandson.
I cut out all my pieces, then planned how I'd put the stripes on the sleeves and measured to see how long the stripes needed to be.  And bravely decided on two stripes per sleeve!
I cut the stripes .5" wide
I tried the stripes out on the sleeve to see how it would look.
I marked the stripe ends with pins and drew a line on each sleeve for the first stripe.
Then I applied glue to the back of the first stripes and gently laid them in place just over the line to hide it, being careful not to stretch them.
Once the first stripes were in place, I drew another line .5" away for the second stripe.
When both stripes were in place and glued down, I pinned for extra security and moved to my coverstitch machine.  The coverstitch is a stretchy stitch.  A long straight stitch might work if you don't have a coverstitch machine, as long as you stretched the fabric slightly as you sewed but it might not be that easy to do with such narrow strips of fabric.  Perhaps a zig zag would be better.
It probably would have made my job easier if I'd threaded with a matching thread, but I decided to go for contrast, so it was important to be as accurate within the stripe as possible.  You achieve this by concentrating on the front of the foot.  Don't look at the needles as you'll stray for sure!  Concentrate on the front of the foot.
My coverstitching wasn't perfect, but on a spiral stripe it will be hard to pick out the imperfections!  I gave the stripes a quick steam press and then it was just just constructing the shirt.  And the Vanguard is such a quick sew!  In no time, I had my grandson's shirt ready for him.

The Vanguard Kit is an amazing pattern and probably the children's pattern that I use the most.  It will work for girls as well as boys and has so many options in it that each shirt is a unique one.  If you don't already have this pattern (or the Moto Maxx) you can get them through my affiliate links below.


Sunday 17 November 2019

Love Notions' Octave Coat - and a few hints


Skill Level - Intermediate
Fabric - Discovery Trekking Outfitters' Polartec Windpro Stretch
Skills - making belt loops, marking, pressing, hemming

Love Notions' newest pattern is a stylish coat with either a shawl collar or a dramatic hood.  You have the option of a button closure or a belt - or choose both!  It comes to mid-thigh which is the perfect length for covering a tunic top.  You can make it lined or unlined and the pattern includes the new expanded sizing.  It even has a full bust pattern piece!
The Octave Coat is drafted for woven fabrics but can be made with stable knits as well.  I chose to make my coat with Discovery Trekking Outfitter's Polartec Windpro Stretch fleece - a fabric I fell in love with the moment I laid hands on it!  It's light, yet warm and is water repellant and wind resistant.  It cut and sewed beautifully and has just the right stability for this pattern.

I've bought a few coat patterns over the years - some I've tried and failed at and others I was just too intimidated to try.  Until now! I found the Love Notions Octave Coat a much easier sew than I was thinking it might be.  Tami's patterns often have videos to take the mystery out of some of the techniques and this pattern is no exception.  You will find a video to help you with the unique pocket construction and two to walk you through steps in lining the coat.  And I have a few hints to help you along!

Making Belt Loops

When I took a serger course, I learned a quick and easy way to make belt loops. 
First, serge a tail that is longer than the loop pattern piece.
Tuck the tail in the centre of the pattern piece and leave it hanging out the end.  Now fold the loop piece over the tail, keeping the tail in the fold - well away from your needles.
Serge your seam allowance - in this case .5".
Use the tail to pull the loop right side out.  My fabric was thick and I had to work a bit to get it started.
And there's your belt loop!
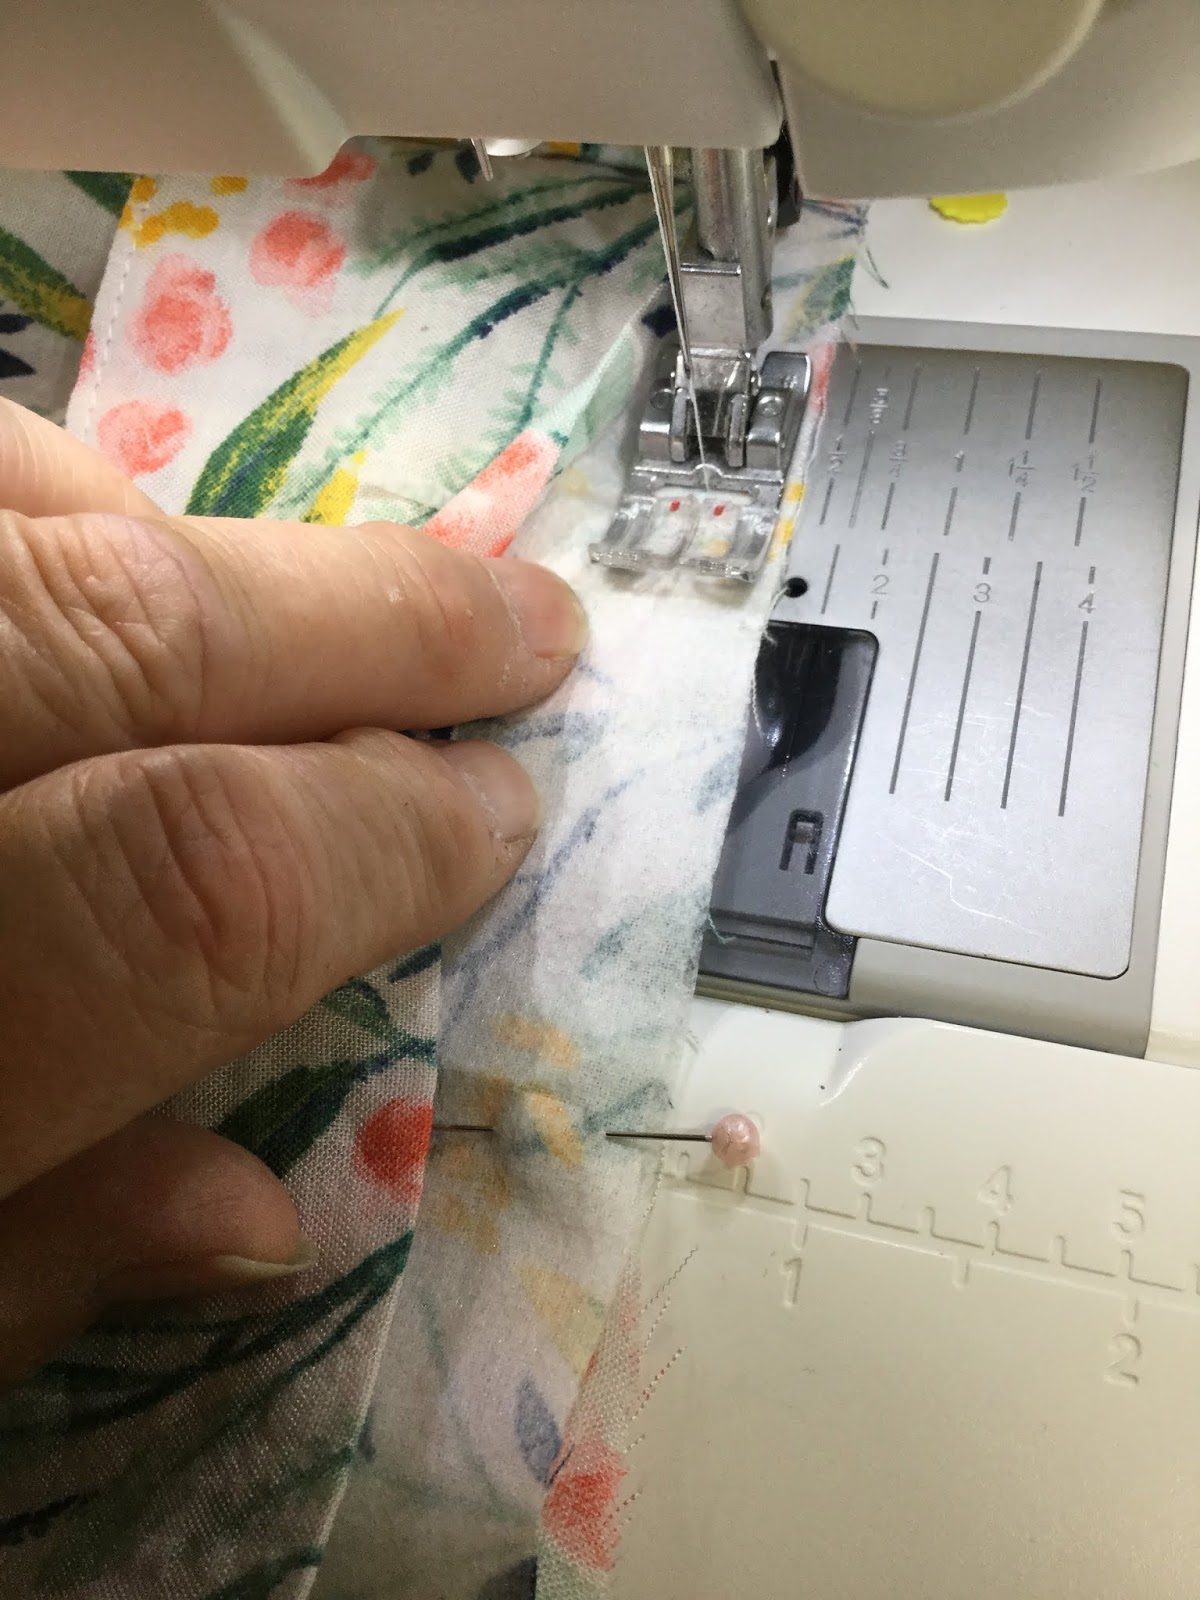
Marking

Make sure you transfer all the pattern markings to your pattern pieces.  I use coloured pins for sleeve/armscye markings and always use one colour for the back markings and another for the front ones so that I never get mixed up.  The markings for the pockets, though, require something a little different.  I found a fine felt marker that contrasted with my fabric.  Since my fabric was quite thick, I wasn't worried about it bleeding through, but you can get fabric markers that will wash out - or you could use tailor's chalk.
I insert a pin through the marking on the wrong side of the fabric and pull back the pattern piece so I can apply a mark to where the pin goes in the fabric.
After I've transferred all the pocket markings for that piece, I give each one another dab to make sure they're clearly visible.

Pressing

I hate ironing clothes but I simply couldn't sew without an iron.  Some fabrics, however, aren't supposed to be ironed, and my fabric fell into that category.  You can still give those seams a press, however - all you need is a pressing cloth.  Mine is an old piece of sheeting.
Set the iron temperature for as low as it will go and still provide steam. Prepare your seam for pressing - is it pressed open or do you need to press it to one side?  Put a cloth over the seam and press over the cloth.  That's all there is to it!

Hemming

The Octave Coat has a slight curve to the hem and that means that unless you allow for that, you'll have tucks in the hem.  That might not matter in a thinner fabric - such as cotton/spandex - but in thicker fabrics it might distort the hem and I want it to look clean on the inside, too.
To get around that, I serged the raw edge of the hem with the differential on my serger turned up.  This draws the fabric in a little.  Now when I pin it, I can give it a good press and I don't need to worry about tucks.
The Octave Coat can be made in woven or stable knits like I used and covers sizes XS to 5XL.  The videos and clear, concise instructions will help you walk through the construction.  It can be dressed up or made more casual depending on which fabric you use.  Comfortable, stylish - this is a coat that belongs in everyone's closet!  You can get the pattern through my affiliate link below.

Love Notions' Octave Coat

Wednesday 18 September 2019

Serging a Vented Seam

If you have a serger, you kinda want to use it everywhere!  You get such a neat, tidy seam, it's a shame not to be able to use it all the time.  Side seams with a vent had me stumped for a long time!  Sure you can stitch that seam with your sewing machine but I really want to have that seam finished with my serger!

Then Tami Meyer of Love Notions Patterns posted how to do it on Instagram!  Lightning bolts!  So that's how you do it!  So now I'm sharing it with you.

Straight stitch a couple of inches first

I took my pattern pieces to my sewing machine and straight stitched about 3 inches down to the stopping point in the vent.  Reverse a couple of stitches to secure the end of the stitching line.

Snip to the stitching line

Next I cut to the stitching line using the top of the vent as my guide.  Then I took it to my serger.

Serge the seam

Serge down the seam to near the bottom.  Fold the vent back so you don't catch it as you serge off the seam.  You can see in the above picture how I veered off, but the seam line is intact to the point.

Press the seam open

Steam press the seamline, with the seam going to the back side of your garment and the vents pressed open.

Now you're ready to hem.  I like to mitre my corners and show how on my post on the Game Day Jersey.  

If you have a coverstitch and would like to use that on your hem, here's a link to my blog post on coverstitching corners

Sunday 8 September 2019

Game Day Jersey, Modal and a Tip or Two

Pattern - Love Notions Game Day Jersey for Ladies
                                   and Game Day Jersey for Children
Skill Level - Confident Beginner
Fabric - l'oiseau fabrics modal jersey
Skills - dealing with modal fabric, mitred corners

Love Notions' two newest patterns are just about as quick a sew as you can get while still retaining some style.  The Game Day patterns for ladies and children have shirt length or dress length and have the options of scoop or v-neck, short or 3/4 length sleeves.  Not only that, the Game Day for Ladies comes in the new 4XL and 5XL sizes and has the full bust option we love! 
Choose your team's colours, jazz them up with the sleeve bands, slap on some vinyl and you have a shirt that sends a shout out to your favourite team.  I chose to go plain and concentrate on the fabric.

So what is this modal we're hearing about so much now?  Modal is a semi-synthetic fabric made from birch tree pulp.  It has a luxurious feel and drapes beautifully.  It resists pilling, breathes and is just as strong when wet making it a good fabric for athletic garments.  And right now it's just about my favourite fabric!  I bought my periwinkle blue modal jersey from l'oiseau fabrics.  Most modal is manufactured in Germany now and l'oiseau fabrics brings in their stock from Europe.

Modal is so stretchy and slinky that it takes a little extra care when cutting out although it's easy to sew and doesn't slip around like shinier fabrics. 
I draped the excess length over a chair at the end of my cutting table to prevent it from distorting and carefully arranged it so that the fabric was as settled as possible. 
I also "puddled" it at the side when cutting out the smaller pieces of the bodice so that the fabric wasn't accidentally stretched.

The Game Day has side slits and I chose to finish my corners with mitres.  It's quite an easy thing to do and gives you a clean look inside the garment with less bulk at the corner.  It also makes hemming easier as you are less likely to miss catching some of the hem at the corners.

The hems and side vents on the Game Day are 1" which makes mitres easy on my senior brain.  I start by pressing the hems.
Then I fold the fabric so the raw edge of the vent and the raw edge of the hem are right sides together.  You can see the fold lines and where they meet is at the folded edge.
The hem is 1" and so is the vent, so I measure up the raw edge 2" and I draw a line from there to the place were the 2 hems meet.
With the sewing machine I stitch along the line and trim the excess back.  Don't forget to backstitch at the fold, or tie the thread ends together so that the stitches don't come undone. Then I flip the fabric to the right side and gently poke the corner out.  Now I'm ready to finish the hems.
Here's the inside with the corners dabbed with Fray Stop just to satisfy my OCD tendency.
The outside looks nice and crisp.  You can just make out the seams of the mitred corners because my iron has highlighted them but after a laundering, you won't see that at all.

I used my coverstitch but the sewing machine works just as well for finishing the hem.  If you want to learn how to coverstitch corners, I have a blog post on that, too.

The Game Day makes a comfortable shirt I could live in every day - it's quick and easy to make and I know I'll be sewing up some more.  I highly recommend it and you can purchase the ladies' or children's Game Day through my affiliate links below.

Love Notions Game Day for Ladies - sizes XL to 5XL

Love Notions Game Day for Children - sizes 2T to 16


Sunday 16 June 2019

Hints for Perfect Collars

Pattern - Love Notions Melody Dolman
Skill Level - Intermediate
Fabric - l'oiseau fabrics - Elise: Seersucker
Skills - stay stitching, pressing, interfacing, using a clapper

Love Notions' newest pattern is a dolman - and what a terrific pattern to have in your collection for cool, comfortable summer wear!  Made with woven apparel fabric, this blouse is actually a fairly quick sew.  The only things which might slow you down are buttons and the collar.  We've talked about buttons before, so this time I'm going to concentrate on the collar.
There's a link to an excellent video right in the pattern's tutorial but I'll toss in a few hints to help make things even easier.  I used a lovely, light cotton/viscose seersucker from l'oiseau fabrics to make mine.

Stay Stitching

The neck opening is stay stitched to prevent it from stretching.  This is especially important if you're using a light fabric - as I did.  I lengthened my stitch from 2.5 to 3.5 and ran the stitching line slightly inside the 3/8" seam allowance.

Interfacing

The collar is interfaced on one collar piece.  Often you will find that after the interfacing has been applied, there is a slight difference between the 2 pieces - the interfaced piece may be slightly smaller than the un-interfaced piece.
If the difference is slight, pin at each collar point and then pin evenly along the outside length of the collar.  There may be slight bulging between the pins and you really don't want tucks on the outside of your collar!
Now take it to your steam iron and press.  This will cause the fabric to contract slightly and now you'll find it's nice and flat.
But we're not out of the woods yet.  You can still get tucks!  When you stitch the collar pieces together, have the interfaced side on top.  This way, the sewing machine's foot can't accidentally push the top fabric and cause a tuck.  The feed dogs pull the under fabric through evenly.

After you've trimmed the seam allowance and turned the collar right side out, it's time to press.  Now I use a handy tool my husband made for me - a clapper.  A clapper is just a block of hardwood that you slap on the fabric after applying steam.  First I press the collar so that the seam line is at the very edge of the piece.  Now to get things really sharp, I use the clapper.
I press with the iron, lift it off and put the clapper on the bit just pressed.  That holds the steam on the fabric and gives me a very sharp edge.  I'm ready to topstitch.  And a clapper is a handy tool to have anywhere you want precise pressing - like with darts or hems.

Stitching on the Collar

One last hint is how I stitch the collar on the bodice.  I usually have the bodice on the bottom and the collar on top.  I do it this way, because my collar is now pretty solid with the interfacing up, while the neck portion of the bodice is less stable so I want it next to the feed dogs.  However, unless you are very careful in your stitching, it's easy to get tucks. 
My fingers do the work for me as I slowly stitch the neckline, smoothing the bodice under the collar out of the way and feeling for any possible tucks under the collar with my fingertips as it feeds through.  It's actually a good habit to get into for any sewing or serging.
And now you only have a couple more simple step before you have your collar on - the blouse is nearly finished!  And look at that heart shape!  You can certainly tell it's a Love Notions pattern and it has all the usual hard work and care behind it that we have come to expect!
The Love Notions Melody Dolman is an excellent addition to your summer wardrobe.  You can use a variety of light to medium weight apparel woven fabrics to get just the blouse to make the summer heat more bearable.  You can get the Melody Dolman through my affiliate link below.

Love Notions Melody Dolman