Pattern -
Love Notions Forte
Skill Rating - Confident Beginner
Fabric -
l'oiseau fabrics
Skills - pattern marking and gathering
The Forte is Love Notions's newest pattern and as is usual with Love Notions patterns - you really get your money's worth! There are options galore!
In addition to 4 body options, there are sleeve choices of straight, gathered, flounced and flared. There are even options for dresses! See what I mean about your money's worth?
Every new pattern I try has me revisiting skills I learned long ago - sometimes all the way back to high school! This pattern reminded me of lessons I learned about gathering, as our very first project was an apron with a gathered skirt. The Forte that I tested was View D and it has a gathered front. I chose to sew the mid-length sleeve with bell. View A also has the gathered skirt and one of the sleeve options is gathered as well. It may look like a difficult pattern, but it's really quite easy as long as you pay attention to the pattern's marking.
Transferring the Pattern Piece Marks
As soon as I've finished cutting out my pattern pieces, I make sure I transfer the marks - all of them. These are important for putting together the garment. I have evolved a system that works for me and I change my tactics depending on what fabric I'm sewing.
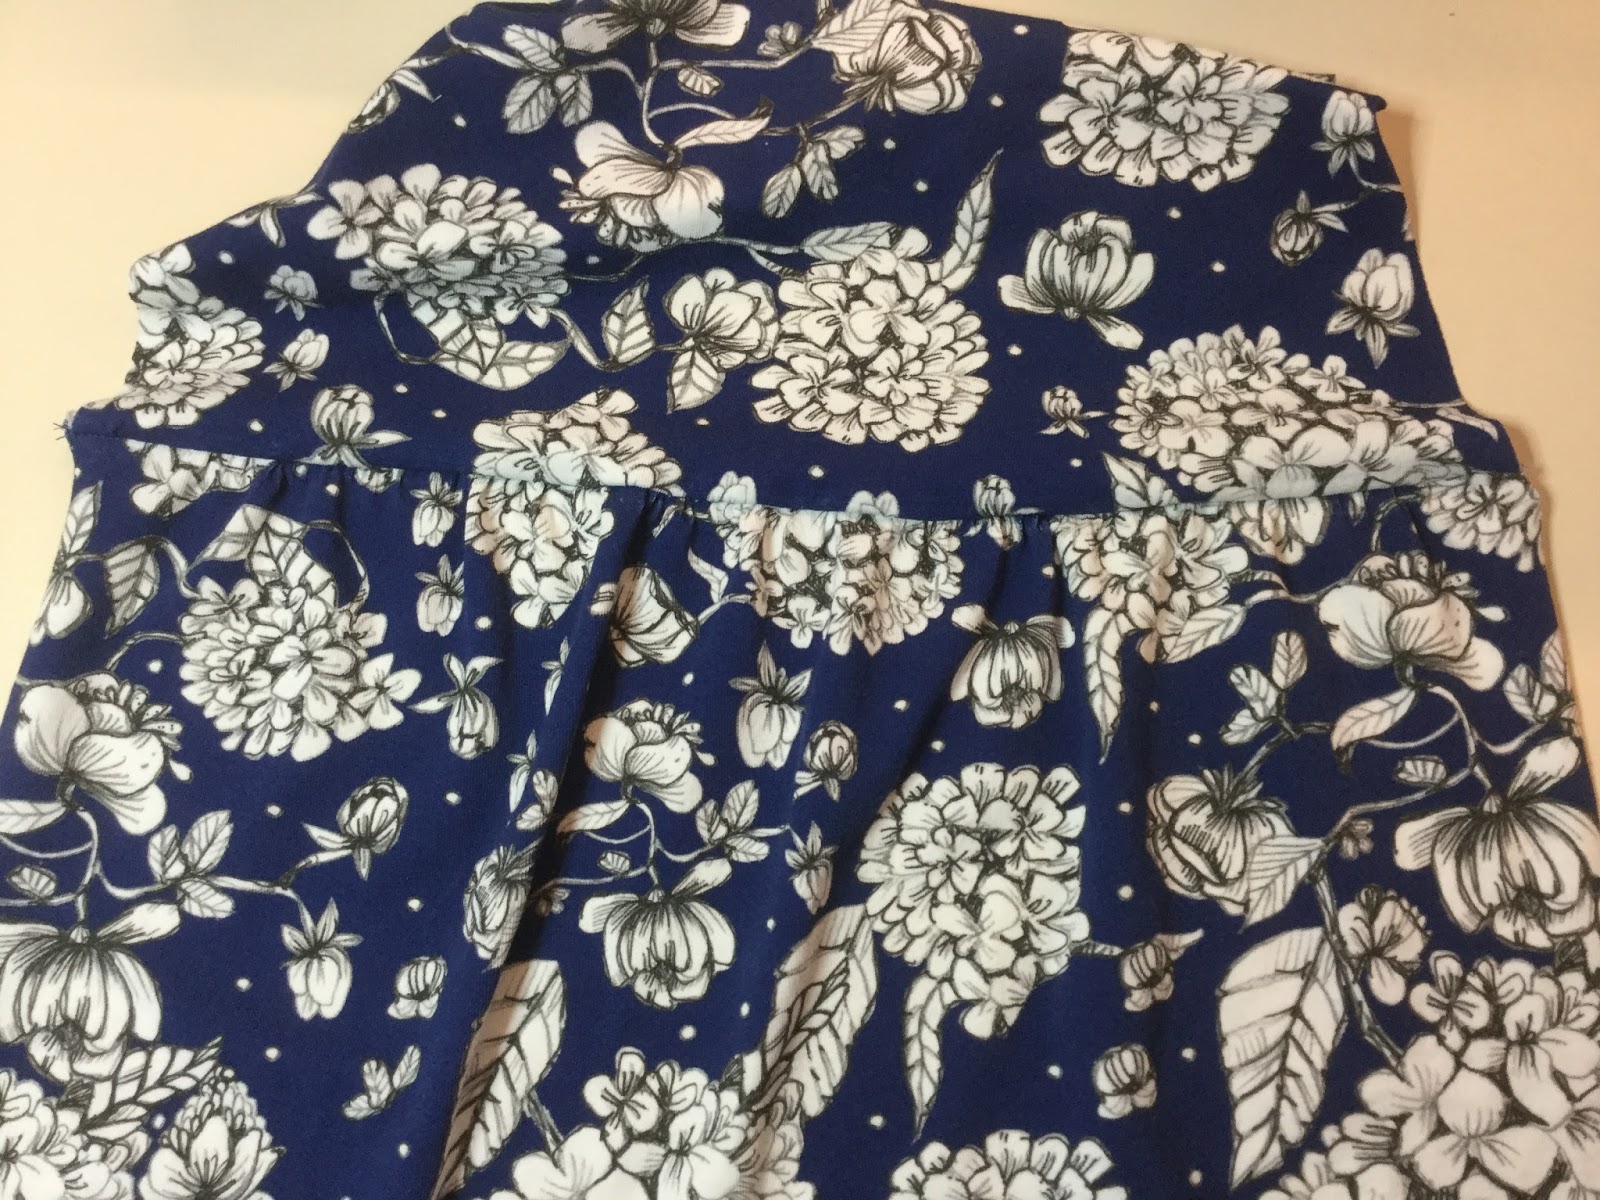
My final test garment was made with a light cotton/spandex knit from l'oiseau - a Majapuu fabric called Hortensia which I think came from Finland. It was 200 gsm in weight and has 110% stretch - a weight and stretch that works very well with view D. The wrong side of my fabric made marking easy. Click on any picture to see it in more detail.
Starting with a sleeve top, I placed a pin at the centre top and made small dashes with a gel pen for the back and front marks. You can get washable fabric markers, but I didn't bother, because the marks will be taken out by my serger's knife.
Now it's time to do the other sleeve top. Flip your pattern piece over and make sure the marks are visible on the back side of your pattern piece. Mark as you did the first sleeve piece.
On the bodice front there is a circle marking where you will stop your stitching line - and secure it as this will be the bottom of View D's V neck. (My sewing machine has a tie-off function for this step, but you can backstitch and get the same result.) I start by putting a pin through the centre of the circle.
Now I back off the pin and pattern piece, flipping back the corner so that I can see where the pin goes through the fabric, and mark it with my pen - again, this won't show on the front, but you can use a washable fabric marker.
My first test of the Forte was with dark purple ITY knit from Fabricland and of course pen markings wouldn't show on that. I used tailor's chalk to make the markings on the fabric.
Gathering
Gathering is a step that sometimes people new to sewing are nervous about. There really isn't much to it, so let's go through it step by step.
First, set your sewing machine's stitch length to at least 4 - a basting stitch. Run a line of stitching 5/8" from the edge and another 1/4" from the edge.
Pin the skirt to the bodice piece, right sides together. Pin at the ends and match the notches in the middle. Now working on one half and holding both threads together pull one side until the gathered portion is the same length as the bodice piece behind it. Pin it in place with several pins.
When you've got them matching in length, wrap the thread in a figure 8 around the pin - like you're not supposed to do with vacuum cleaner cords! You'll notice that I don't have many gathers at the edge on this side. This is going to be the side seam and I've left this little bit gather-free so that the side seam will be as smooth as possible.
Now pull the gathering threads on the other side.
You're ready to stitch the seam. I like to baste it on my sewing machine before I take it to my serger. I use the stitch length of 4, just like I did with gathering and I run the stitching 3/8" from the edge - right between my gathering lines, removing the pins as my sewing machine's needle gets to them. If you don't have a serger, change your stitch length to 2.5 and you're almost done.
Before serging I trim all the threads except the 5/8" line top thread, which I carefully bring below the stitching so it won't get caught up in my serging line - this makes it easy to remove after the serging is done.
Now I'm ready to take it to the serger and I have a nice basting line to follow with the left needle guide on the top of my serger's foot. Take care while serging that your bodice piece is flat and not getting tucked up in the serging - I lift the fabric up every now and then to make sure that all is well. It's easier to take a little extra time at this point rather than have to take out stitches later!
Serging done, I can now remove the gathering line that will show below the seam. I trim the left hand thread and carefully pull out from the right.
Then I remove the loose thread from the right side of the fabric and I'm ready to press the seam up.
In addition to my final test Forte, I also did a couple of shirts in ITY (interlock twist yarn), which is sold as Barcelona at my local Fabricland. It's a polyester fabric with beautiful drape and worked extremely well in View D.
Once you have the marking done, and your gathering is completed, the rest of the Forte is pretty simple. And when you have finished you have created a beautiful, wearable garment that is made just for you - a one-of-a-kind garment you can be proud of!
You can get the pattern below using my affiliate link
Love Notions Forte