Showing posts with label iron. Show all posts

Thursday, 23 July 2020

La Bella Donna - More Inclusive Than Ever

Pattern - Love Notions La Bella Donna
Skill Level - Confident Beginner
Fabric - Discovery Fabrics Bamboo French Terry
Skills - Hemming, Pressing

Love Notions' popular pattern, La Bella Donna, has been re-tested and re-issued.  This super-easy and oh-so-comfortable pattern is now sized XS to 5XL.  What's more, it now has a full bust pattern piece. It comes with three sleeve options; short, three-quarters and full length.  You can make it with the scoop neck or have a hood or cowl instead.  And for finishing off?  Hem, facing or shirt band.  It comes in shirt and tunic length.  As usual, there are so many options!

The pattern calls for medium weight knit fabrics with at least 40% stretch, and I chose to make mine from Discovery Fabrics' Bamboo French Terry in a lovely periwinkle blue.  This fabric has beautiful drape and stretch and is so comfortable to wear.  Everything I've bought from Discovery Fabrics has been top quality and the service is great.
I chose to make my latest La Bella Donna with three-quarter sleeves as I'm always pushing them up anyway.  It's such a comfortable length for me.  There's a long cuff, but the seam is above my elbow - the perfect spot.  This is a very quick pattern to sew - so few pieces!  Body, optional cowl/hood, sleeve cuffs/bands - that's it!

I don't know why I haven't made a cowl neck for myself before - I just love it.  And for a person "of a certain age" it's a perfect neckline!  Made in my French Terry, it drapes beautifully.  And once I sewed the cuffs and cowl on, all that was left to do was hem the bottom - I told you this was a quick pattern!

You have a choice of a band at the hips to finish or a hem which can simply be turned under a half inch and stitched, or faced and stitched.  I decided to hem.

You know I can't review a pattern without throwing in a hint or two, and since La Bella Donna has that flattering curved hem, I thought I would show you how easy it is to hem a curved edge.
The first thing I did was to turn the hem under .5" and secure with lots of long pins.  And then you notice that the curved hem gives you lots of bulges.  Don't panic - it's easy!
This is where your steam iron comes into play - I hate ironing, but I can't sew without my steam iron. Simply press the iron on the bulges and they shrink!  And now you can see why you use long pins.
And just like magic, the bulges are flat.  And if you wind up with a tuck or two, it doesn't matter because it's on the inside of the garment.

Let's look more closely:
Before
After
After you've stitched your hem (I did mine on my coverstitch) you may notice some waviness.  Time to press again.
I turn my  iron sideways and slide it gently down the body towards the hem.  And any waviness is a thing of the past.
La Bella Donna - which is Italian for beautiful lady - is a pattern that is quick and easy to make and the result is an attractive, comfortable garment.  There are so many options that you can make it time after time and each one will be unique.  If you bought this pattern in the past, you can get the updated version in your Downloads on the Love Notions website.  If you don't have it - you need it!  You can get it from my affiliate link below.

Love Notions La Bella Donna sizes XS to 5X

Sunday, 16 June 2019

Hints for Perfect Collars

Pattern - Love Notions Melody Dolman
Skill Level - Intermediate
Fabric - l'oiseau fabrics - Elise: Seersucker
Skills - stay stitching, pressing, interfacing, using a clapper

Love Notions' newest pattern is a dolman - and what a terrific pattern to have in your collection for cool, comfortable summer wear!  Made with woven apparel fabric, this blouse is actually a fairly quick sew.  The only things which might slow you down are buttons and the collar.  We've talked about buttons before, so this time I'm going to concentrate on the collar.
There's a link to an excellent video right in the pattern's tutorial but I'll toss in a few hints to help make things even easier.  I used a lovely, light cotton/viscose seersucker from l'oiseau fabrics to make mine.

Stay Stitching

The neck opening is stay stitched to prevent it from stretching.  This is especially important if you're using a light fabric - as I did.  I lengthened my stitch from 2.5 to 3.5 and ran the stitching line slightly inside the 3/8" seam allowance.

Interfacing

The collar is interfaced on one collar piece.  Often you will find that after the interfacing has been applied, there is a slight difference between the 2 pieces - the interfaced piece may be slightly smaller than the un-interfaced piece.
If the difference is slight, pin at each collar point and then pin evenly along the outside length of the collar.  There may be slight bulging between the pins and you really don't want tucks on the outside of your collar!
Now take it to your steam iron and press.  This will cause the fabric to contract slightly and now you'll find it's nice and flat.
But we're not out of the woods yet.  You can still get tucks!  When you stitch the collar pieces together, have the interfaced side on top.  This way, the sewing machine's foot can't accidentally push the top fabric and cause a tuck.  The feed dogs pull the under fabric through evenly.

After you've trimmed the seam allowance and turned the collar right side out, it's time to press.  Now I use a handy tool my husband made for me - a clapper.  A clapper is just a block of hardwood that you slap on the fabric after applying steam.  First I press the collar so that the seam line is at the very edge of the piece.  Now to get things really sharp, I use the clapper.
I press with the iron, lift it off and put the clapper on the bit just pressed.  That holds the steam on the fabric and gives me a very sharp edge.  I'm ready to topstitch.  And a clapper is a handy tool to have anywhere you want precise pressing - like with darts or hems.

Stitching on the Collar

One last hint is how I stitch the collar on the bodice.  I usually have the bodice on the bottom and the collar on top.  I do it this way, because my collar is now pretty solid with the interfacing up, while the neck portion of the bodice is less stable so I want it next to the feed dogs.  However, unless you are very careful in your stitching, it's easy to get tucks. 
My fingers do the work for me as I slowly stitch the neckline, smoothing the bodice under the collar out of the way and feeling for any possible tucks under the collar with my fingertips as it feeds through.  It's actually a good habit to get into for any sewing or serging.
And now you only have a couple more simple step before you have your collar on - the blouse is nearly finished!  And look at that heart shape!  You can certainly tell it's a Love Notions pattern and it has all the usual hard work and care behind it that we have come to expect!
The Love Notions Melody Dolman is an excellent addition to your summer wardrobe.  You can use a variety of light to medium weight apparel woven fabrics to get just the blouse to make the summer heat more bearable.  You can get the Melody Dolman through my affiliate link below.

Love Notions Melody Dolman


Wednesday, 16 January 2019

Beeswax Food Wraps

We are trying hard to reduce our use of plastic - it's becoming a huge problem world-wide!  To that end, I've been experimenting with making my own food wraps.  I've scoured the Internet for videos and blog posts and have come up with a method that works best for me.

First of all, here's what you need for each wrap -- I'm making mine 10" squares:
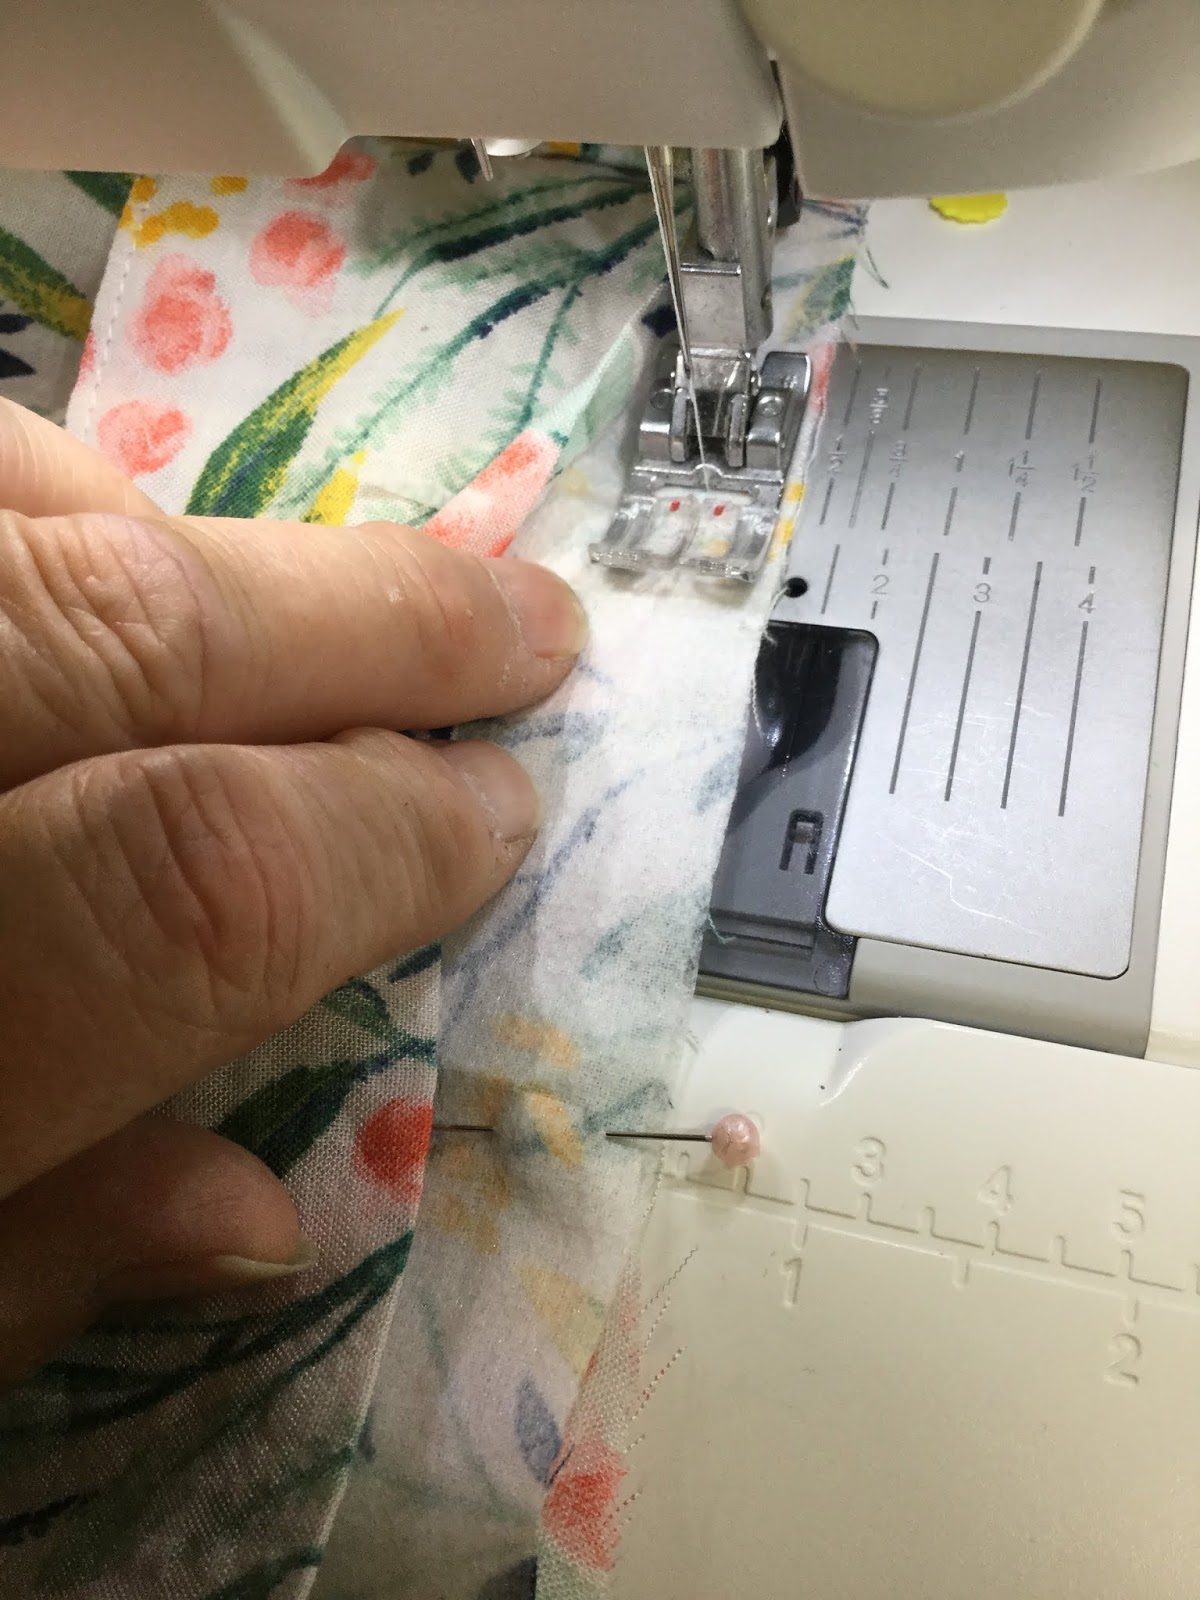
cotton fabric cut to your preference - I'm making mine 10" squares, but you can cut circles, rectangles, whatever you want.  You can use pinking shears on the edges to make them pretty or leave them straight.

An old cookie sheet with sides - mine has an 11" base

2 sheets of parchment paper - I cut mine about 13" long and the paper is 15" wide

For each sheet - 2 tsp of beeswax pellets or grated beeswax (pellets are so much simpler!), 1/2 tsp jojoba oil and 2 tsp powdered pine rosin.  You can make it with straight beeswax, but the jojoba oil makes the sheets more pliable.  Pine rosin makes it clingier for bowls.  I didn't have the pine rosin and just used the pellets and oil.

An iron with the steam turned off
So let's get started!  Lay one of the parchment paper sheets on the cookie sheet and place your fabric on that.  I mix up the ingredients in a bowl so that the pellets are coated with the jojoba oil - so much easier I found than distributing the pellets and then trying to get the oil evenly distributed as well!
Sprinkle the pellets on the cloth as evenly as you can.
Then place the second sheet of parchment paper on top.  Now press with your iron - steam turned off.
I found this so much simpler than baking it in the oven.  You can use the iron to push the melted wax around.
You will inevitably get spots that didn't get wax.  Simply place a pellet or two in those spots and iron again.  When the sheet is thoroughly coated, lift if off and air dry it.  When cool, it's ready to use.  The cookie sheet and parchment paper I put away to use again another time.
The heat from my hands warms the wax enough to make it usable for wrapping this block of cheese.
I fold the wrap over it as if I'm packaging up a present with all the folds on one side.
When fully wrapped, it's ready for the fridge.
And it works, too!  Here's an onion that was put in the fridge 2 days ago.  The cut side is still juicy!

To clean the wraps, just wash them in warm water and you can use a gentle soap.  If they're starting to show wear, you can refresh them by putting them in the oven for a minute or two, and even giving them a new coating of the ingredients.  We've decided to have foods with strong smells wrapped in their own patterned cloth - onions will always use the fabric with tiny roses on it!
And how to store them.  You store them flat in a drawer or on a shelf.  I think they're so lovely, that I roll them up and keep them in a glass vase!  Getting rid of plastic wrap just got a whole lot prettier!