I'm not a very tidy person - anyone in my family will tell you that! However, before I retired, my work area was always neat and organized. Now that I'm sewing so much again, I need my sewing room to be the same way. I get easily distracted and if my space isn't cleared and organized, I can easily be diverted.
My sewing room does triple duty. It was originally a guest bedroom. Now, however, it's my computer room, sewing room and guest bedroom. When company comes, the computer desk and coverstitch desk gets moved out and the double-bed gets brought in and set up. Fortunately we have another guest bedroom so that doesn't happen all that frequently!
Today I want to start a new project, Sabrina Slims from Love Notions, but I can't get going until I clean up my mess! I am blessed with a husband who loves to woodwork and is very good at it. He built me my wonderful sewing desk with shallow drawers that every person who sews needs. It has a very wide kneehole so I can slide back and forth between the sewing machine and serger. He also made me the shelving unit above and the pinboard between the two. I can tack up pattern pieces and notes, plus there's a screw in the top frame that I can hang a clipboard on. I put pattern instructions here between the serger and sewing machine.
The shelving unit, which has adjustable shelves, holds all manner of things - from gardening books, to computer manuals and a set of Dickens novels that belonged to my mother! Oh, and sewing supplies!
One shelf has a plastic bin holding all my elastic and a basket with all my sewing thread. The thread is in plastic zip lock bags separating the colours. I learned this from a friend who is a sewing instructor and it's really worked for me.
Another shelf has my serger thread. I really only use 3 basic colours - black, white and grey. I do have some other colours but they rarely get used. If I really need to match, I put the matching colour in the left needle, but the serger thread is usually well hidden in a garment. Above the serger thread (and my tiny music system!) are bins holding interfacing, zippers and buttons and various manuals. I pick up shirt buttons at my local thrift store and keep those buttons in tiny zip lock bags in an old peanut butter jar on the top shelf.

My coverstitch machine is on a separate table under one of the windows. My son, also a terrific woodworker, made a tray to my specifications to hold all manner of bits and bobs I need beside the coverstitch. And notice the tiny toy Singer sewing machine given to me by a dear friend! One thing a sewing room needs is lots of light. Besides having 2 windows in this room, I have a swing lamp that swivels between the sewing desk and the coverstitch. The shelving unit has LED strips under it and a clip lamp over the ironing board illuminates that area.
Fabric is on 2 shelving units. One is filled with knits and has a cradle (made by hubby) for pattern rolls. Plain interlock, cotton/spandex and rib knit are on the top shelf. Next down is patterned cotton/spandex, then various other knits on the next two shelves. The closet (okay, it's still messy!) has woven material amongst other miscellany.
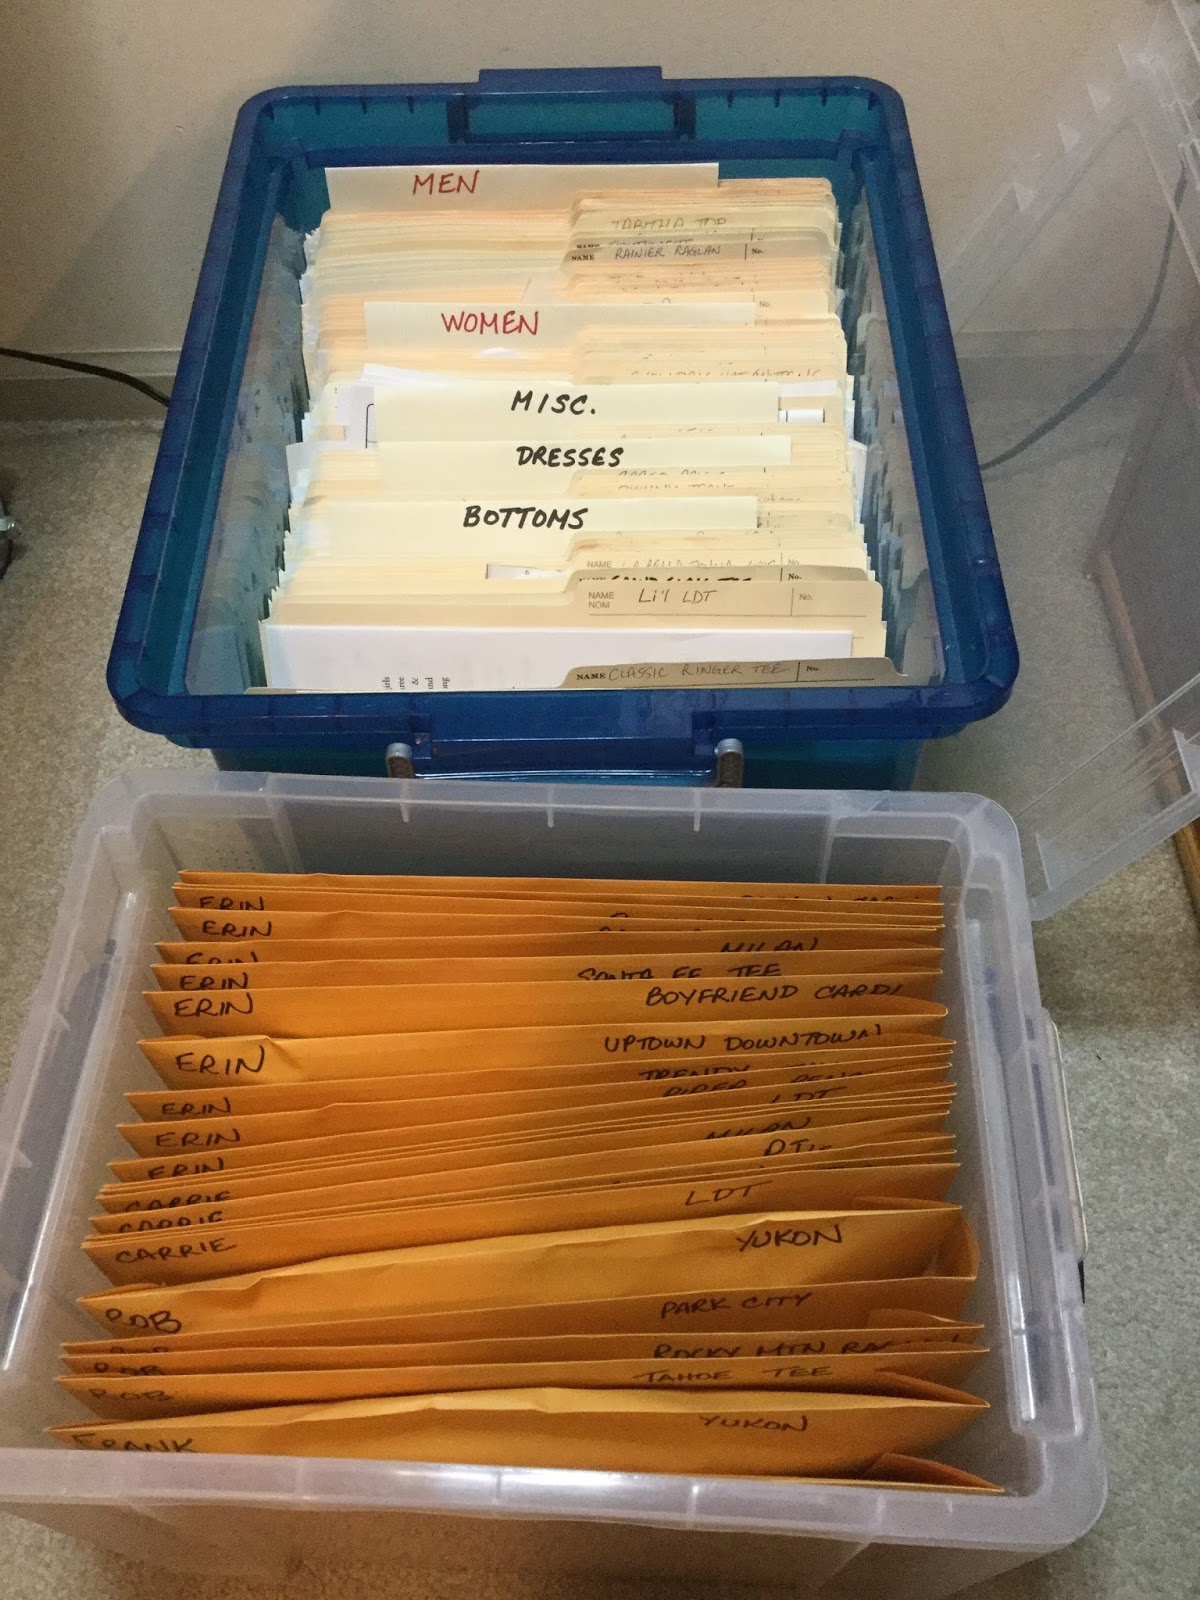
Patterns take up 2 bins on the floor. I've gotten rid of nearly all my old tissue patterns as I'm finding .pdf patterns work so much better and I can count on the fit. One bin has all the patterns with their instructions in letter-sized folders and the other has manilla envelopes containing adult family members' patterns as most of my sewing is for family.
Floor vacuumed (one day I'll get hubby to put in hardwood flooring!) and things once again tidy, I'm ready to tackle those Sabrina Slims!
How do you organize your sewing room? I'd love to learn some new organizational tricks!