Showing posts with label knit. Show all posts

Tuesday, 7 November 2017

The Sloane - My New Winter Friend


Pattern - Love Notions' Sloane Sweater for Ladies
Skill Level - confident beginner
Fabric - Fabricland rayon/spandex and brushed shirting
Skills - Applique

The Sloane Sweater is such a quick and easy pattern plus it's so comfortable, you want to make a bunch.  And with so many options, there's lots of scope to make sweaters that are unique.  But how about mixing things up - I mean - can you add a woven component?  I thought I'd give it a try!

I make most of my husband's shirts and for winter wear he especially loves brushed shirting so I usually have a lot of leftovers on hand.  I also had olive green rayon/spandex that was an exact match for one of the plaids which was a remnant from a shirt I'd made my son.  Perfect!  Click on any of the pictures to see them in more detail.
To make sure that there was "give" in the woven component, I decided to do my cuts on the bias.  First of all, I cut a square from the plaid and gave it a quick iron so it would lie as flat and square as possible.  As I was planning on adding elbow patches as well, I made the square big enough for both.
I folded the fabric diagonally, matching as best I could the stripes of the plaid, and laid out my pieces.
Using the rotary cutter, I had my woven component ready. Stitching in the yoke wasn't going to be a problem.  My big question was how to handle the patches.  Do I just stitch around and leave raw edges?  Do I use a straight stitch?  A zig zag?  I decided I was going to serge the edges and stitch on with a long, shallow zig zag.
But first, I should practice! I cut a second set of elbow patches and serged around the edge of one.  I wanted the end of the serging to be as invisible as possible, so when I met up with the beginning of my serging, I lifted the presser foot and turned the patch out of the stitching line, then dropped the foot and serged off.  The resulting tail would be pressed under the patch.  Great - I liked the look!
Now to practice stitching onto the rayon/spandex!  I pinned the patch to the knit fabric and chose a long, shallow zig zag on my sewing machine.
Since I had serged in black (picking up black in the plaid), I threaded my machine with black and the resulting stitching was lost in the serging line.  A quick press to take out the waviness and I was happy with the result.
I have inherited my father's long arms so I knew the patch would be too high on my elbow.  I wound up moving the patch down 3/4" - and probably could have done with a bit more!  I used lots of pins to attach the patches to the sleeve and the resulting elbow patches have turned out perfectly!
Attaching the yoke went as quickly as I'd thought it would - just one note here - you're moving from knit to woven (albeit on the bias) and back to knit again.  When serging on straight knit I had my serger's differential on 1.5.  When serging on knit and bias woven, I changed it to 1.3.  If the woven had not been on the bias I would have used N.
Once these two processes were out of the way, the rest of the sew was very quick.  And now I have another Sloane to add to the pack - bring on the cool weather!

If you don't already have the Sloane, you can get it through my affiliate link below.  And don't forget there's a Sloane for girls!  You just can't have too many Sloanes!

Love Notions' Sloane Sweater for Ladies
Love Notions' Sloane Sweater for Girls


Be sure to visit all the Sloane Blog Tour bloggers for some amazing versions of this super pattern!


Thursday, 21 September 2017

On Your Mark!

Pattern - Love Notions Forte
Skill Rating - Confident Beginner
Fabric - l'oiseau fabrics
Skills - pattern marking and gathering

The Forte is Love Notions's newest pattern and as is usual with Love Notions patterns - you really get your money's worth!  There are options galore!
In addition to 4 body options, there are sleeve choices of straight, gathered, flounced and flared.  There are even options for dresses!  See what I mean about your money's worth?
Every new pattern I try has me revisiting skills I learned long ago - sometimes all the way back to high school!  This pattern reminded me of lessons I learned about gathering, as our very first project was an apron with a gathered skirt.  The Forte that I tested was View D and it has a gathered front.  I chose to sew the mid-length sleeve with bell. View A also has the gathered skirt and one of the sleeve options is gathered as well.  It may look like a difficult pattern, but it's really quite easy as long as you pay attention to the pattern's marking.

Transferring the Pattern Piece Marks

As soon as I've finished cutting out my pattern pieces, I make sure I transfer the marks - all of them.  These are important for putting together the garment.  I have evolved a system that works for me and I change my tactics depending on what fabric I'm sewing.

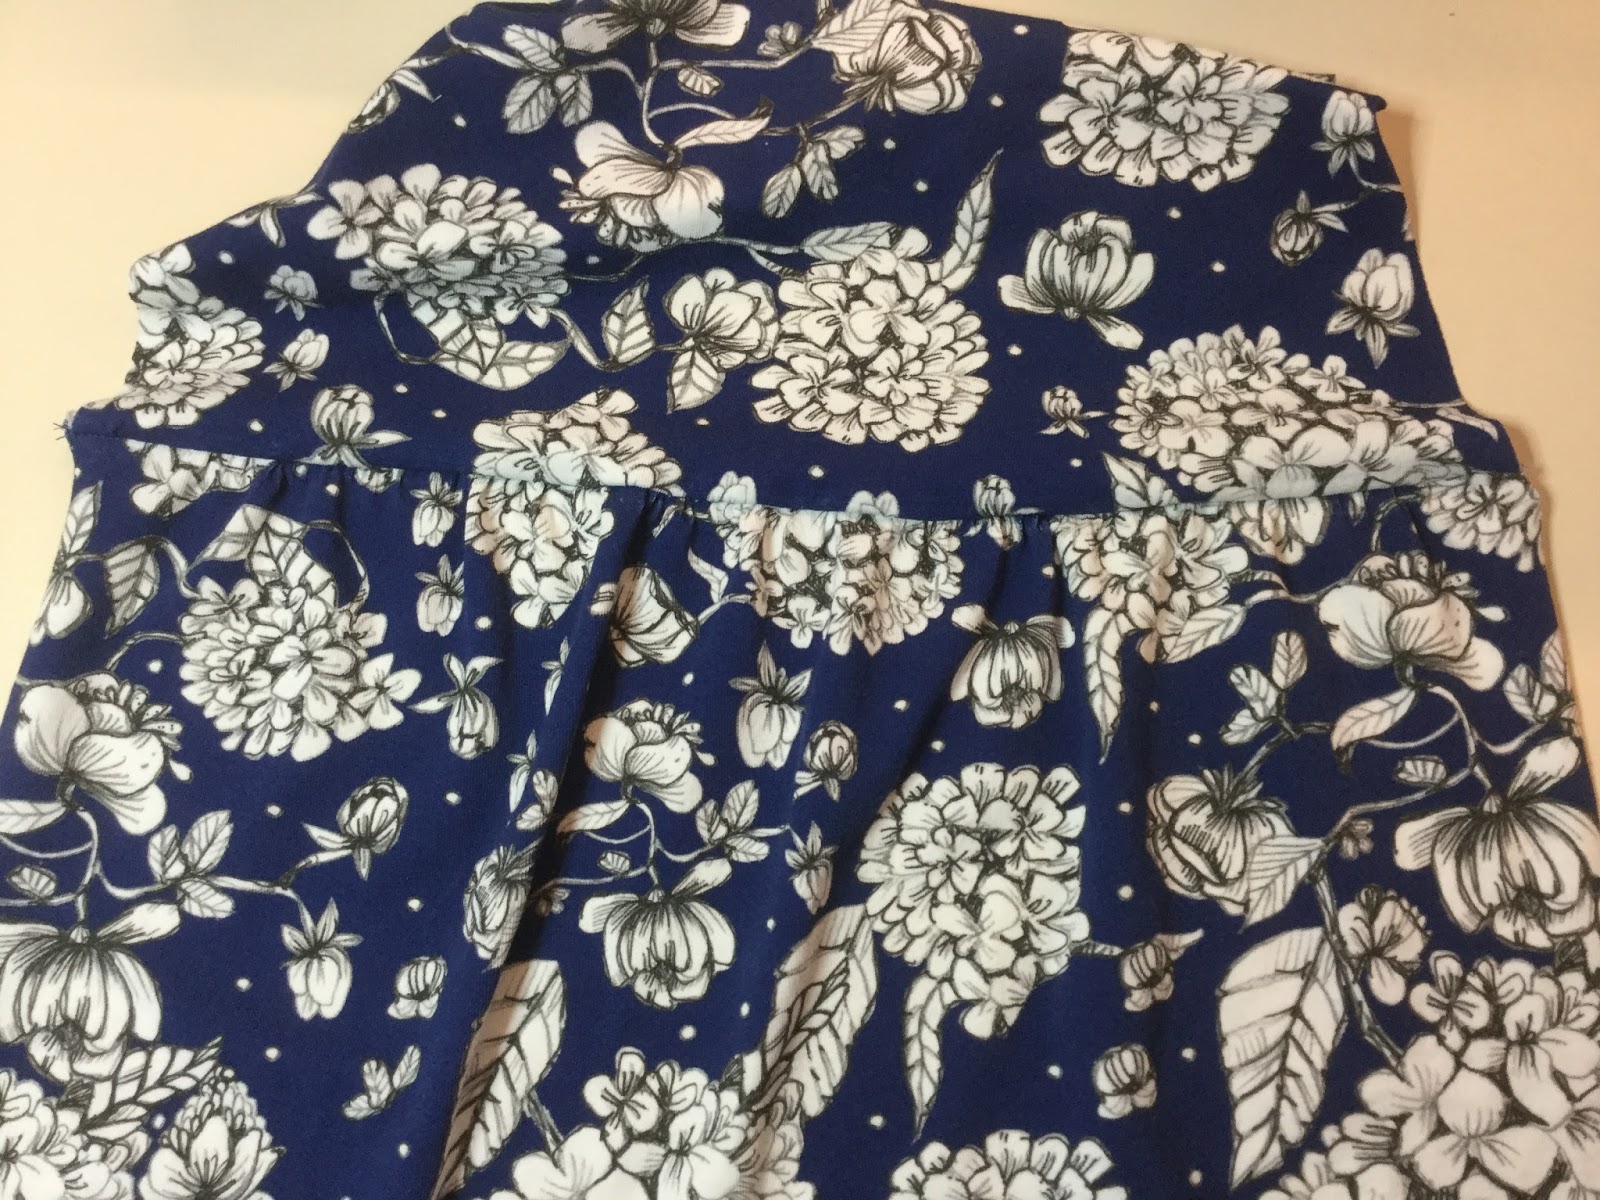
My final test garment was made with a light cotton/spandex knit from l'oiseau - a Majapuu fabric called Hortensia which I think came from Finland.  It was 200 gsm in weight and has 110% stretch - a weight and stretch that works very well with view D.  The wrong side of my fabric made marking easy.  Click on any picture to see it in more detail.
Starting with a sleeve top, I placed a pin at the centre top and made small dashes with a gel pen for the  back and front marks.  You can get washable fabric markers, but I didn't bother, because the marks will be taken out by my serger's knife.
Now it's time to do the other sleeve top.  Flip your pattern piece over and make sure the marks are visible on the back side of your pattern piece.  Mark as you did the first sleeve piece.
On the bodice front there is a circle marking where you will stop your stitching line - and secure it as this will be the bottom of View D's V neck.  (My sewing machine has a tie-off function for this step, but you can backstitch and get the same result.) I start by putting a pin through the centre of the circle.
Now I back off the pin and pattern piece, flipping back the corner so that I can see where the pin goes through the fabric, and mark it with my pen - again, this won't show on the front, but you can use a washable fabric marker.
My first test of the Forte was with dark purple ITY knit from Fabricland and of course pen markings wouldn't show on that.  I used tailor's chalk to make the markings on the fabric.

Gathering

Gathering is a step that sometimes people new to sewing are nervous about.  There really isn't much to it, so let's go through it step by step.
First, set your sewing machine's stitch length to at least 4 - a basting stitch.  Run a line of stitching 5/8" from the edge and another 1/4" from the edge.
Pin the skirt to the bodice piece, right sides together.  Pin at the ends and match the notches in the middle.  Now working on one half and holding both threads together pull one side until the gathered portion is the same length as the bodice piece behind it.  Pin it in place with several pins.
When you've got them matching in length, wrap the thread in a figure 8 around the pin - like you're not supposed to do with vacuum cleaner cords!  You'll notice that I don't have many gathers at the edge on this side.  This is going to be the side seam and I've left this little bit gather-free so that the side seam will be as smooth as possible.
Now pull the gathering threads on the other side.
You're ready to stitch the seam.  I like to baste it on my sewing machine before I take it to my serger.  I use the stitch length of 4, just like I did with gathering and I run the stitching 3/8" from the edge - right between my gathering lines, removing the pins as my sewing machine's needle gets to them.  If you don't have a serger, change your stitch length to 2.5 and you're almost done.
Before serging I trim all the threads except the 5/8" line top thread, which I carefully bring below the stitching so it won't get caught up in my serging line - this makes it easy to remove after the serging is done.
Now I'm ready to take it to the serger and I have a nice basting line to follow with the left needle guide on the top of my serger's foot.  Take care while serging that your bodice piece is flat and not getting tucked up in the serging - I lift the fabric up every now and then to make sure that all is well.  It's easier to take a little extra time at this point rather than have to take out stitches later!
Serging done, I can now remove the gathering line that will show below the seam.   I trim the left hand thread and carefully pull out from the right.
Then I remove the loose thread from the right side of the fabric and I'm ready to press the seam up.
In addition to my final test Forte, I also did a couple of shirts in ITY (interlock twist yarn), which is sold as Barcelona at my local Fabricland.  It's a polyester fabric with beautiful drape and worked extremely well in View D.

Once you have the marking done, and your gathering is completed, the rest of the Forte is pretty simple.  And when you have finished you have created a beautiful, wearable garment that is made just for you - a one-of-a-kind garment you can be proud of!

You can get the pattern below using my affiliate link

Love Notions Forte


Friday, 18 August 2017

Coverstitching Corners


Pattern - Cadence Maxi Dress from Love Notions
Fabric - Christine, mint from l'oiseau fabrics
Skill - coverstitching corners

Getting a coverstitch machine really revolutionized my sewing!  My Baby Lock coverstitch machine gives me a professional looking finish to the garments I sew.  Topstitching is achieved without the stretching of fabric that my sewing machine would result in.

There is a bit of a learning curve to coverstitching.  How you finish off a line of stitching is the most important part if you don't want your hard work unravelling!  Then there's the practice involved in getting just the right distance from neckbands!  It's all a learning process.

The most difficult bit for me was wrapping my head around how to coverstitch a corner.  The pinned post created by Hilde Eekels-Beerens from the Coverstitch Facebook group was incredibly helpful!

My daughter wanted me to make her a Cadence Maxi Dress - a new pattern from Love Notions.  And she wanted it from a lovely viscose fabric - Christine from l'oiseau fabrics which was 95% viscose and 5% elastic.  The Cadence is a pattern designed for woven fabrics, but can be made from knits.  Generally, if you're making it from knits, you size down, but since my daughter wanted it for a loose summer dress, I didn't bother.  The Cadence Maxi Dress has a split up each side and since I was going to use my BLCS2, I needed to practice first.
I started with a double layer of scrap fabric from the project - it's important that you are practicing in the same conditions as you will be doing your final sewing.
I stitched down to the turning point.  I lifted the presser foot to release the tension and gently maneuvered the fabric to loosen off the threads and turn the fabric so that my needles were right above the outside stitching line.
I dropped the needles on the stitching line and gently pulled back the needle threads past the tension discs to reduce loops on the back.  Then dropped the presser foot and stitched to the next corner.
When I was finished practicing, I had nice sharp corners and I was ready to coverstitch the real thing!
The side seam splits needed to be marked - I needed to know exactly where to make my turnings and for this I moved to the ironing board with my quilting ruler under the side seam to make pinning easier.  The hem and side vents were already pressed in place.  I marked the turning spots with pins so that I would be able to have consistent turning points on both splits.
I started at the back seam and stitched to the first corner - my marking pin showed me exactly where to turn.  Using the marking pins, I was able to quickly coverstitch the entire hem in pretty short time. I hand-wheeled as I got to each marking pin and again at the end just to make sure that my stitching was as exact as I could get it.
And when I finished - not because it needed it, but because I'm a little OCD about it - I dabbed each corner and the final threads with Fray Stop.  I know my stitching won't come undone, but if I go the extra step, I'm absolutely sure!  You can trim the excess fabric if you wish, but I didn't bother.
The resulting hem is as good as this imperfect person can get it!

Now, as this was a knit project using a woven pattern, there were a few things I did differently from the pattern.  I didn't use the facing pieces from the pattern for this sleeveless dress.
Instead, I did narrow bands on the armscyes - 1.5" which were folded in half width-wise.  I did a clean facing on the neck - the same narrow bands, but turned to the inside and topstitched.  My daughter didn't want facings and I felt that the combination of serged seams and topstitching would provide a little strength - the maxi length in this fabric exerts quite a pull!  Next time, I'd probably just do exposed bands for both.  Because of the stretchiness of the fabric I hung it overnight to let it relax to its full length.  I had to take off 4" from the bottom to get the ankle-length hemline I was looking for.

All in all, I'm pretty happy with the results.  The Cadence is such a simple pattern that even with all the thought-time I spent, plus adjusting the pattern to move the darts up 1.5" it probably only took me 3 hours start to finish.  And done in this lovely European fabric from l'oiseau fabrics, it's one pretty nice dress!


Friday, 10 March 2017

Making Pleats - with a fork???


Pattern - Prisma from Love Notions
Fabric - unknown polyester knit from Fabricland
Skill - pleating with a fork

I did promise to show how to make pleats with a fork, didn't I!  When we were testing, our designer, Tami Meyer, found a video on making pleats with a fork.  It looked so ingenious, I wanted to try it out.  Of course, your fork must be the right size!  My fork was slightly less than an inch in width which was the perfect width to make the 1" pleat that the Prisma pleated skirt calls for.
When you have your skirt piece ready, reserve the first half inch for the side seam.  Set your sewing machine to a basting stitch and secure a couple of stitches in place. Start with the fork facing you and slide the fabric in between a couple of tines - as shown above.
Now turn the fork towards yourself (counter clockwise) until it's flat on the sewing machine.  This creates your pleat.
Slide the pleat towards your half-inch mark.  Subsequent pleats will slide up beside to the pleat before as shown above.  While you are sliding the pleat into place, make sure that the pleat is square and the edge of your fabric is straight across the right side.
Now continue the basting stitch along, catching the pleat with a couple of stitches.  Then stop to make the next pleat.
Continue catching the fabric with the fork, turning the fork to create the pleat and stitching to secure the pleat until you have come to the end of the fabric.

This is not the most exact way to make pleats, but it's certainly quick!  No marking - except possibly for the first half inch.  I found a number of videos on the Internet, but most of them formed pleats in the opposite direction which I discovered sometimes caught on the sewing machine's foot.  And if you find yourself sewing lots of pleats, there are even tools for this.  Using a fork is just so much more fun!

Tuesday, 7 March 2017

Love Notions' Prisma - with a woven skirt?


Pattern - Love Notions Prisma
Fabric - l'oiseau fabrics - Solids Basic charcoal,  Fabricland - woven rayon
Skill - pleats

 Love Notions' new Prisma - a drop-waisted dress for girls.  Versatile in the extreme, Prisma offers 3 sleeve lengths, 3 neck options and A-line, flared and pleated skirts in sizes 2T to 16.  I was assigned the pleated skirt option with a scoop neck.  During the testing process a question was asked about the skirt - could it be made from woven fabric?  I immediately thought, "Yes!"  Provided the fabric chosen was appropriate, there was no reason that it wouldn't work and I decided to give it a try.
My chosen fabrics were cotton/spandex knit from l'oiseau fabrics for the bodice and short sleeves with a woven rayon for the pleated skirt.
The pattern piece for the skirt is very clearly marked and in no time at all the pleats were pinned into place.  You can find a video tutorial for making the pleats on the Love Notions website.  A half inch space is left open at each end so that the front and back of the skirt can be joined.  Later I learned of another way to make the pleats - a method involving a fork!  But that is a post for another time.
Now to the sewing machine.  With a long basting stitch, I sewed the pleats down taking care the pleats weren't disturbed on the back side.
Using a woven for the skirt worked out extremely well - no stretch at all and the skirt fits perfectly to the bodice piece.
Next step - pin the skirt to the bodice front, right sides together.
On to the serger - serge the seam.  Then repeat for the other skirt and back bodice pieces.
After the front and back have been joined at the shoulder, the sleeves have been serged in place and the neckband added, it's time to serge the side seams.  And at this step, it's important to change your serger's differential - N through the woven material and 1.5 through the knit.
Almost done!  Pin the hems for the skirt and sleeves and finish - I decided to go with a reverse coverstitch with thread in the looper to match the rust in the skirt.
And that's all there is to it!  I still have to press the pleats although they look lovely unpressed as well.  The Prisma is a versatile pattern with a little something for everyone.  Quick, easy and adaptable - what a great pattern!