Showing posts with label pins. Show all posts

Thursday, 23 July 2020

La Bella Donna - More Inclusive Than Ever

Pattern - Love Notions La Bella Donna
Skill Level - Confident Beginner
Fabric - Discovery Fabrics Bamboo French Terry
Skills - Hemming, Pressing

Love Notions' popular pattern, La Bella Donna, has been re-tested and re-issued.  This super-easy and oh-so-comfortable pattern is now sized XS to 5XL.  What's more, it now has a full bust pattern piece. It comes with three sleeve options; short, three-quarters and full length.  You can make it with the scoop neck or have a hood or cowl instead.  And for finishing off?  Hem, facing or shirt band.  It comes in shirt and tunic length.  As usual, there are so many options!

The pattern calls for medium weight knit fabrics with at least 40% stretch, and I chose to make mine from Discovery Fabrics' Bamboo French Terry in a lovely periwinkle blue.  This fabric has beautiful drape and stretch and is so comfortable to wear.  Everything I've bought from Discovery Fabrics has been top quality and the service is great.
I chose to make my latest La Bella Donna with three-quarter sleeves as I'm always pushing them up anyway.  It's such a comfortable length for me.  There's a long cuff, but the seam is above my elbow - the perfect spot.  This is a very quick pattern to sew - so few pieces!  Body, optional cowl/hood, sleeve cuffs/bands - that's it!

I don't know why I haven't made a cowl neck for myself before - I just love it.  And for a person "of a certain age" it's a perfect neckline!  Made in my French Terry, it drapes beautifully.  And once I sewed the cuffs and cowl on, all that was left to do was hem the bottom - I told you this was a quick pattern!

You have a choice of a band at the hips to finish or a hem which can simply be turned under a half inch and stitched, or faced and stitched.  I decided to hem.

You know I can't review a pattern without throwing in a hint or two, and since La Bella Donna has that flattering curved hem, I thought I would show you how easy it is to hem a curved edge.
The first thing I did was to turn the hem under .5" and secure with lots of long pins.  And then you notice that the curved hem gives you lots of bulges.  Don't panic - it's easy!
This is where your steam iron comes into play - I hate ironing, but I can't sew without my steam iron. Simply press the iron on the bulges and they shrink!  And now you can see why you use long pins.
And just like magic, the bulges are flat.  And if you wind up with a tuck or two, it doesn't matter because it's on the inside of the garment.

Let's look more closely:
Before
After
After you've stitched your hem (I did mine on my coverstitch) you may notice some waviness.  Time to press again.
I turn my  iron sideways and slide it gently down the body towards the hem.  And any waviness is a thing of the past.
La Bella Donna - which is Italian for beautiful lady - is a pattern that is quick and easy to make and the result is an attractive, comfortable garment.  There are so many options that you can make it time after time and each one will be unique.  If you bought this pattern in the past, you can get the updated version in your Downloads on the Love Notions website.  If you don't have it - you need it!  You can get it from my affiliate link below.

Love Notions La Bella Donna sizes XS to 5X

Friday, 13 July 2018

Lace for a Girly Girl

Skill Level:  Confident Beginner
Skills: sewing with lace

My granddaughter loves the Cartwheel Collection circle skirt with its double layers of twirly goodness so making Miss A. an outfit from the pattern with lace overlay was a no-brainer!
And of course, I have to throw a panel from l’oiseau fabrics into the mix as well! My plan was to have the bottom layer of the circle skirt in  pale pink cotton/spandex.
The shorter over-skirt would be stretch lace.  I would also use the lace in the top to tie it all together.
The skirt was a snap.  I quartered the skirts and also the waistband and stitched them all together.  I lettuce hemmed the underskirt and scallop-cut the raw edge of the lace skirt.
I had a wonderful flamingo panel from l’oiseau for the shirt.  The lace was to be echoed in the upper portion of the peek-a-boo back and the sleeves as an overlay to the pattern pieces.  I basted them in place and just treated them as one piece. 
The shirt went together very well in spite of my worries about the lace slipping.

Heaven knows how my athletic, down-to-earth family wound up with a girly girl, but we’ve got one and it makes my Grandma heart so happy.  And you can see that she's pretty pleased with it herself!
Yes, this outfit is definitely over the top but it fulfills my granddaughter’s twirly girly dreams!


If you haven't already visited all of the amazing lace blogs, be sure to check them out!


lace tour

Tuesday, 23 January 2018

Trendy Tunic for Girls - New Options!


Pattern - Love Notions Trendy Tunic for Girls
Skill Level - Confident Beginner
Fabric - l'oiseau fabrics
Skills - seam matching

When Tami from Love Notions announced that she was going to re-vist the Trendy Tunic for Girls to add more sizes and options, I was right onboard!  My daughter-in-law has told me it's one of her favourite tops for her daughter.  I definitely wanted to make more!
The Trendy Tunic is a shirt that has built-in fabric blocking and that means that you can use those precious scraps you've been loath to throw away.  It has pockets - yay for pockets!  There are options for short dolman sleeves and inset 3/4 and long sleeves.  The updated pattern now gives you a hood and a cowl.  Now isn't this just typical Love Notions - options galore!

The sewing itself is straight forward and as usual with Love Notions patterns, if there's anything at all tricky involved, there is extra assistance to help you and this pattern is no exception - there's a video to help with the pockets.
The pattern was perfect for a l'oiseau fabrics remnant I'd been sitting on for some time.  This unique border print was only 52 cm long and the only thing I'd been able to think of before was a gathered skirt - but that wouldn't show off the Amsterdam street scene.  Hooray for the Trendy Tunic which was exactly right to display the border!  And I had scraps of the perfect turquoise cotton/spandex for the accent pieces.

But I'd like to share something I've learned to help make that seam matching go a little easier!  I have struggled with matching seams in the past - my serger wants to push the top piece of fabric past the bottom fabric.
So now what I do is match those seams and put a pin in right away.  I run a basting stitch in just that portion of the seam on the 3/8" seam line.
Then I take it to the serger and serge as usual.
The seam is perfect!  And just what you need when you have a super pattern like the Trendy Tunic which has seam matching for the shoulders and the sides.
So now my granddaughter has a couple of new Trendy Tunics and I have plans for more!  If you already have the pattern, you can download the updated version from your account on the Love Notions website.  If you don't already have this pattern, you can get it through my affiliate link below.

Love Notions Trendy Tunic for Girls sizes 2T - 16


Thursday, 21 September 2017

On Your Mark!

Pattern - Love Notions Forte
Skill Rating - Confident Beginner
Fabric - l'oiseau fabrics
Skills - pattern marking and gathering

The Forte is Love Notions's newest pattern and as is usual with Love Notions patterns - you really get your money's worth!  There are options galore!
In addition to 4 body options, there are sleeve choices of straight, gathered, flounced and flared.  There are even options for dresses!  See what I mean about your money's worth?
Every new pattern I try has me revisiting skills I learned long ago - sometimes all the way back to high school!  This pattern reminded me of lessons I learned about gathering, as our very first project was an apron with a gathered skirt.  The Forte that I tested was View D and it has a gathered front.  I chose to sew the mid-length sleeve with bell. View A also has the gathered skirt and one of the sleeve options is gathered as well.  It may look like a difficult pattern, but it's really quite easy as long as you pay attention to the pattern's marking.

Transferring the Pattern Piece Marks

As soon as I've finished cutting out my pattern pieces, I make sure I transfer the marks - all of them.  These are important for putting together the garment.  I have evolved a system that works for me and I change my tactics depending on what fabric I'm sewing.

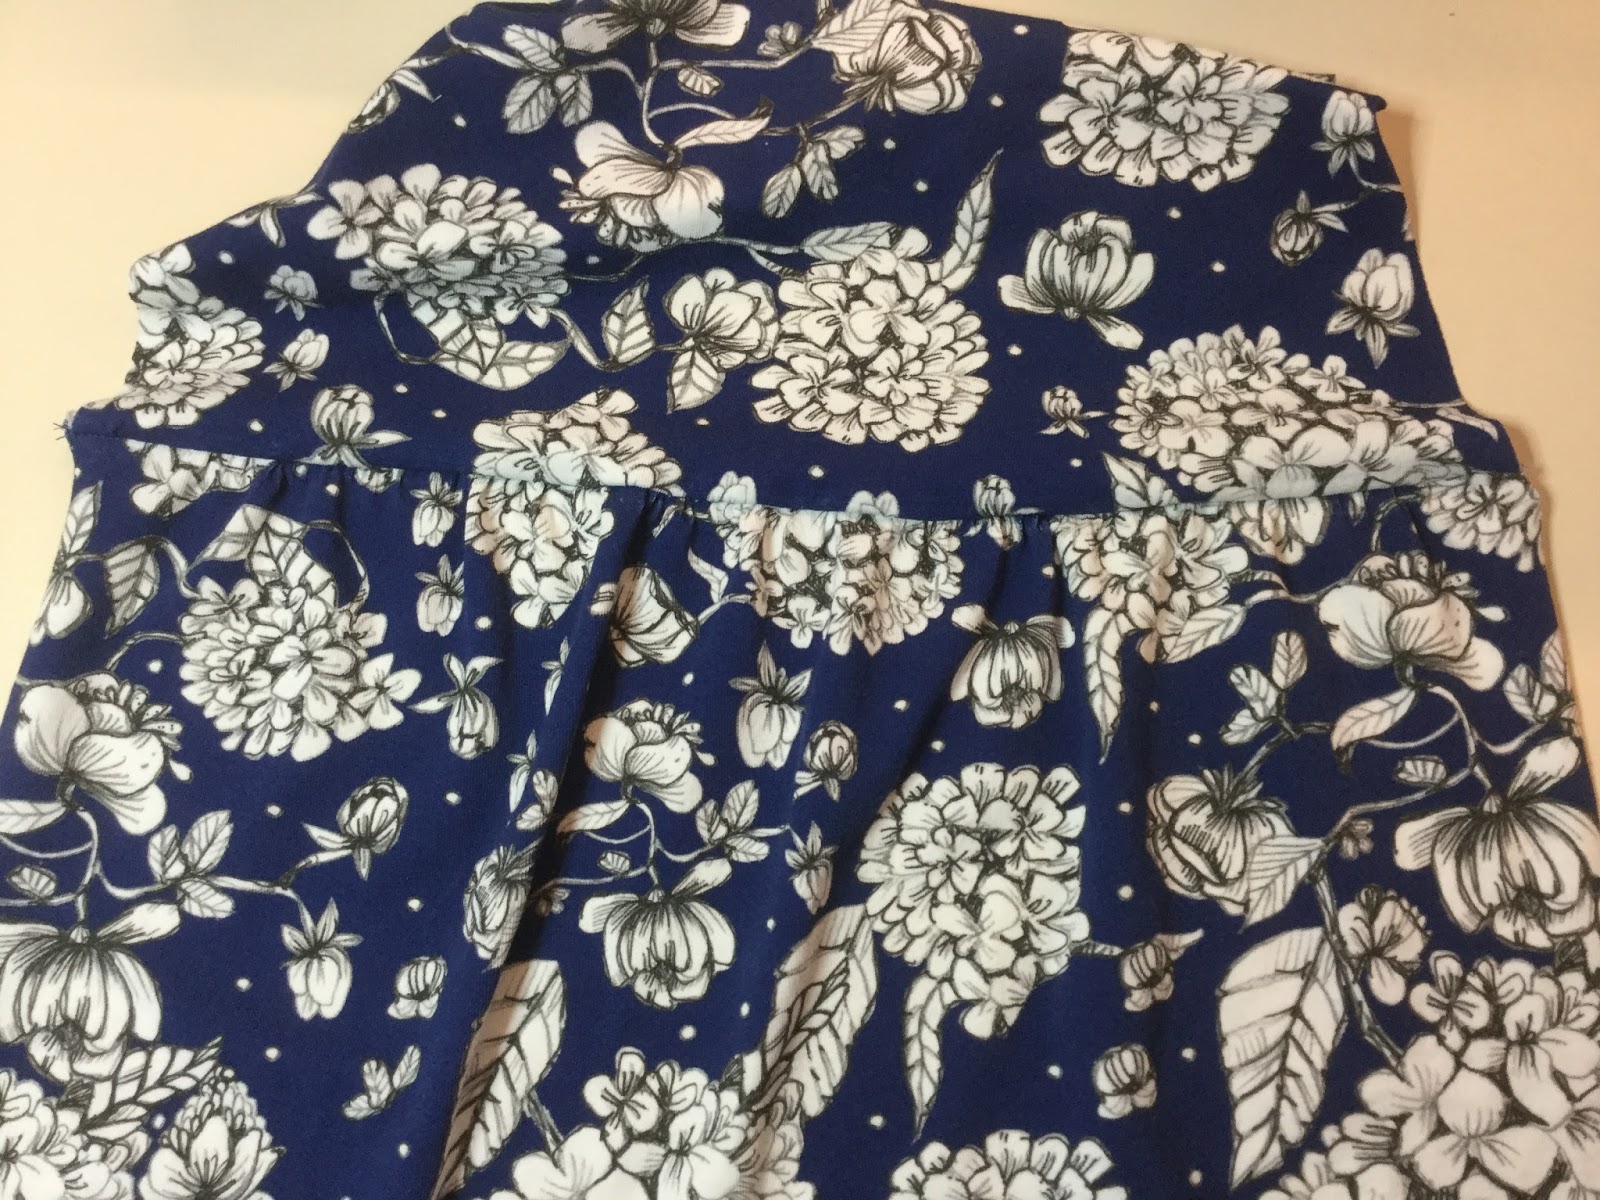
My final test garment was made with a light cotton/spandex knit from l'oiseau - a Majapuu fabric called Hortensia which I think came from Finland.  It was 200 gsm in weight and has 110% stretch - a weight and stretch that works very well with view D.  The wrong side of my fabric made marking easy.  Click on any picture to see it in more detail.
Starting with a sleeve top, I placed a pin at the centre top and made small dashes with a gel pen for the  back and front marks.  You can get washable fabric markers, but I didn't bother, because the marks will be taken out by my serger's knife.
Now it's time to do the other sleeve top.  Flip your pattern piece over and make sure the marks are visible on the back side of your pattern piece.  Mark as you did the first sleeve piece.
On the bodice front there is a circle marking where you will stop your stitching line - and secure it as this will be the bottom of View D's V neck.  (My sewing machine has a tie-off function for this step, but you can backstitch and get the same result.) I start by putting a pin through the centre of the circle.
Now I back off the pin and pattern piece, flipping back the corner so that I can see where the pin goes through the fabric, and mark it with my pen - again, this won't show on the front, but you can use a washable fabric marker.
My first test of the Forte was with dark purple ITY knit from Fabricland and of course pen markings wouldn't show on that.  I used tailor's chalk to make the markings on the fabric.

Gathering

Gathering is a step that sometimes people new to sewing are nervous about.  There really isn't much to it, so let's go through it step by step.
First, set your sewing machine's stitch length to at least 4 - a basting stitch.  Run a line of stitching 5/8" from the edge and another 1/4" from the edge.
Pin the skirt to the bodice piece, right sides together.  Pin at the ends and match the notches in the middle.  Now working on one half and holding both threads together pull one side until the gathered portion is the same length as the bodice piece behind it.  Pin it in place with several pins.
When you've got them matching in length, wrap the thread in a figure 8 around the pin - like you're not supposed to do with vacuum cleaner cords!  You'll notice that I don't have many gathers at the edge on this side.  This is going to be the side seam and I've left this little bit gather-free so that the side seam will be as smooth as possible.
Now pull the gathering threads on the other side.
You're ready to stitch the seam.  I like to baste it on my sewing machine before I take it to my serger.  I use the stitch length of 4, just like I did with gathering and I run the stitching 3/8" from the edge - right between my gathering lines, removing the pins as my sewing machine's needle gets to them.  If you don't have a serger, change your stitch length to 2.5 and you're almost done.
Before serging I trim all the threads except the 5/8" line top thread, which I carefully bring below the stitching so it won't get caught up in my serging line - this makes it easy to remove after the serging is done.
Now I'm ready to take it to the serger and I have a nice basting line to follow with the left needle guide on the top of my serger's foot.  Take care while serging that your bodice piece is flat and not getting tucked up in the serging - I lift the fabric up every now and then to make sure that all is well.  It's easier to take a little extra time at this point rather than have to take out stitches later!
Serging done, I can now remove the gathering line that will show below the seam.   I trim the left hand thread and carefully pull out from the right.
Then I remove the loose thread from the right side of the fabric and I'm ready to press the seam up.
In addition to my final test Forte, I also did a couple of shirts in ITY (interlock twist yarn), which is sold as Barcelona at my local Fabricland.  It's a polyester fabric with beautiful drape and worked extremely well in View D.

Once you have the marking done, and your gathering is completed, the rest of the Forte is pretty simple.  And when you have finished you have created a beautiful, wearable garment that is made just for you - a one-of-a-kind garment you can be proud of!

You can get the pattern below using my affiliate link

Love Notions Forte


Friday, 31 March 2017

A Quick Shopping Bag

These days, more and more communities are moving to ban plastic shopping bags.  And I totally sympathize.  We've been using our own shopping bags for years now and have had to replace them a number of times.  Today I decided to try making some simple singlet-style grocery bags.  I found several free patterns online
I started with woven fabric I picked up at my local thrift store.  This is an excellent place to find inexpensive fabric to use in projects like this.  Brightly coloured sheets would also be an excellent source as well.  I wanted a piece of fabric 37 1/2" by 21 1/2", so I folded the fabric in half, selvage edge on the bottom, fold on the left side of my cutting mat and cut a piece 18 1/2" wide and 21 1/2" long.
I folded the fabric right sides together and stitched the open side.  I used my serger, but a sewing machine works just fine.
Next I folded the side in approximately 3".  Since this is sort of a pleat, I marked the sides with a pin, measured 3" each side of the pin and marked them, too.
Then I brought the centre in between the markers and pinned the pleat together.   I did this for each corner as you can see above.
Next step is to serge along one end of the bag.  I did this right sides out.
I always weave the serger ends back into the stitching.
Then I turned the bag inside out and stitched across the seam with my sewing machine, just outside the serger seam.  This is for strength.
Now to cut the opening.  I flipped the bag right sides out again and marked 3" in from the sides and 6" across the bottom of the opening, rounding the corners.
Next, to finish the cut portion I serged along the raw edge.  You could finish this with bias tape if you wanted, but this is just an inexpensive, quick shopping bag, so I just serged the edge to finish it.
Now to cut the handle openings.  I drew a line with a marker with a rounded corner and cut this portion of the inside pleat out.
Then, I serged this raw edge, too.
Nearly done now! I re-folded the handles and serged across the top.
Then flipped that inside out and stitched across the seam with my sewing machine - as I did with the bag bottom.  This gives strength to both those weight-bearing seams.  And that's all there is to it!

This was my first attempt, so what would I do differently next time?  For one thing, I'd use a thinner material - this was almost a flannelette and I think something like a good sheet material would a better choice.  Also, I'd cut the inside of the handle down deeper.  While there's plenty of room for my hands, a bit more would be even better.  And finally, I'm might look for a better way to finish the bottom of the bag so it's more like the plastic bags.  However, this is a great start!